The Definitive Handbook for Fitting Aftermarket Handlebars on Your Yamaha MT-10: Achieve Flawless Comfort and Control
Why Upgrade to Aftermarket Handlebars?
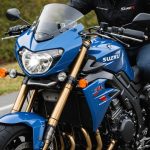
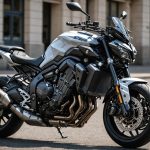
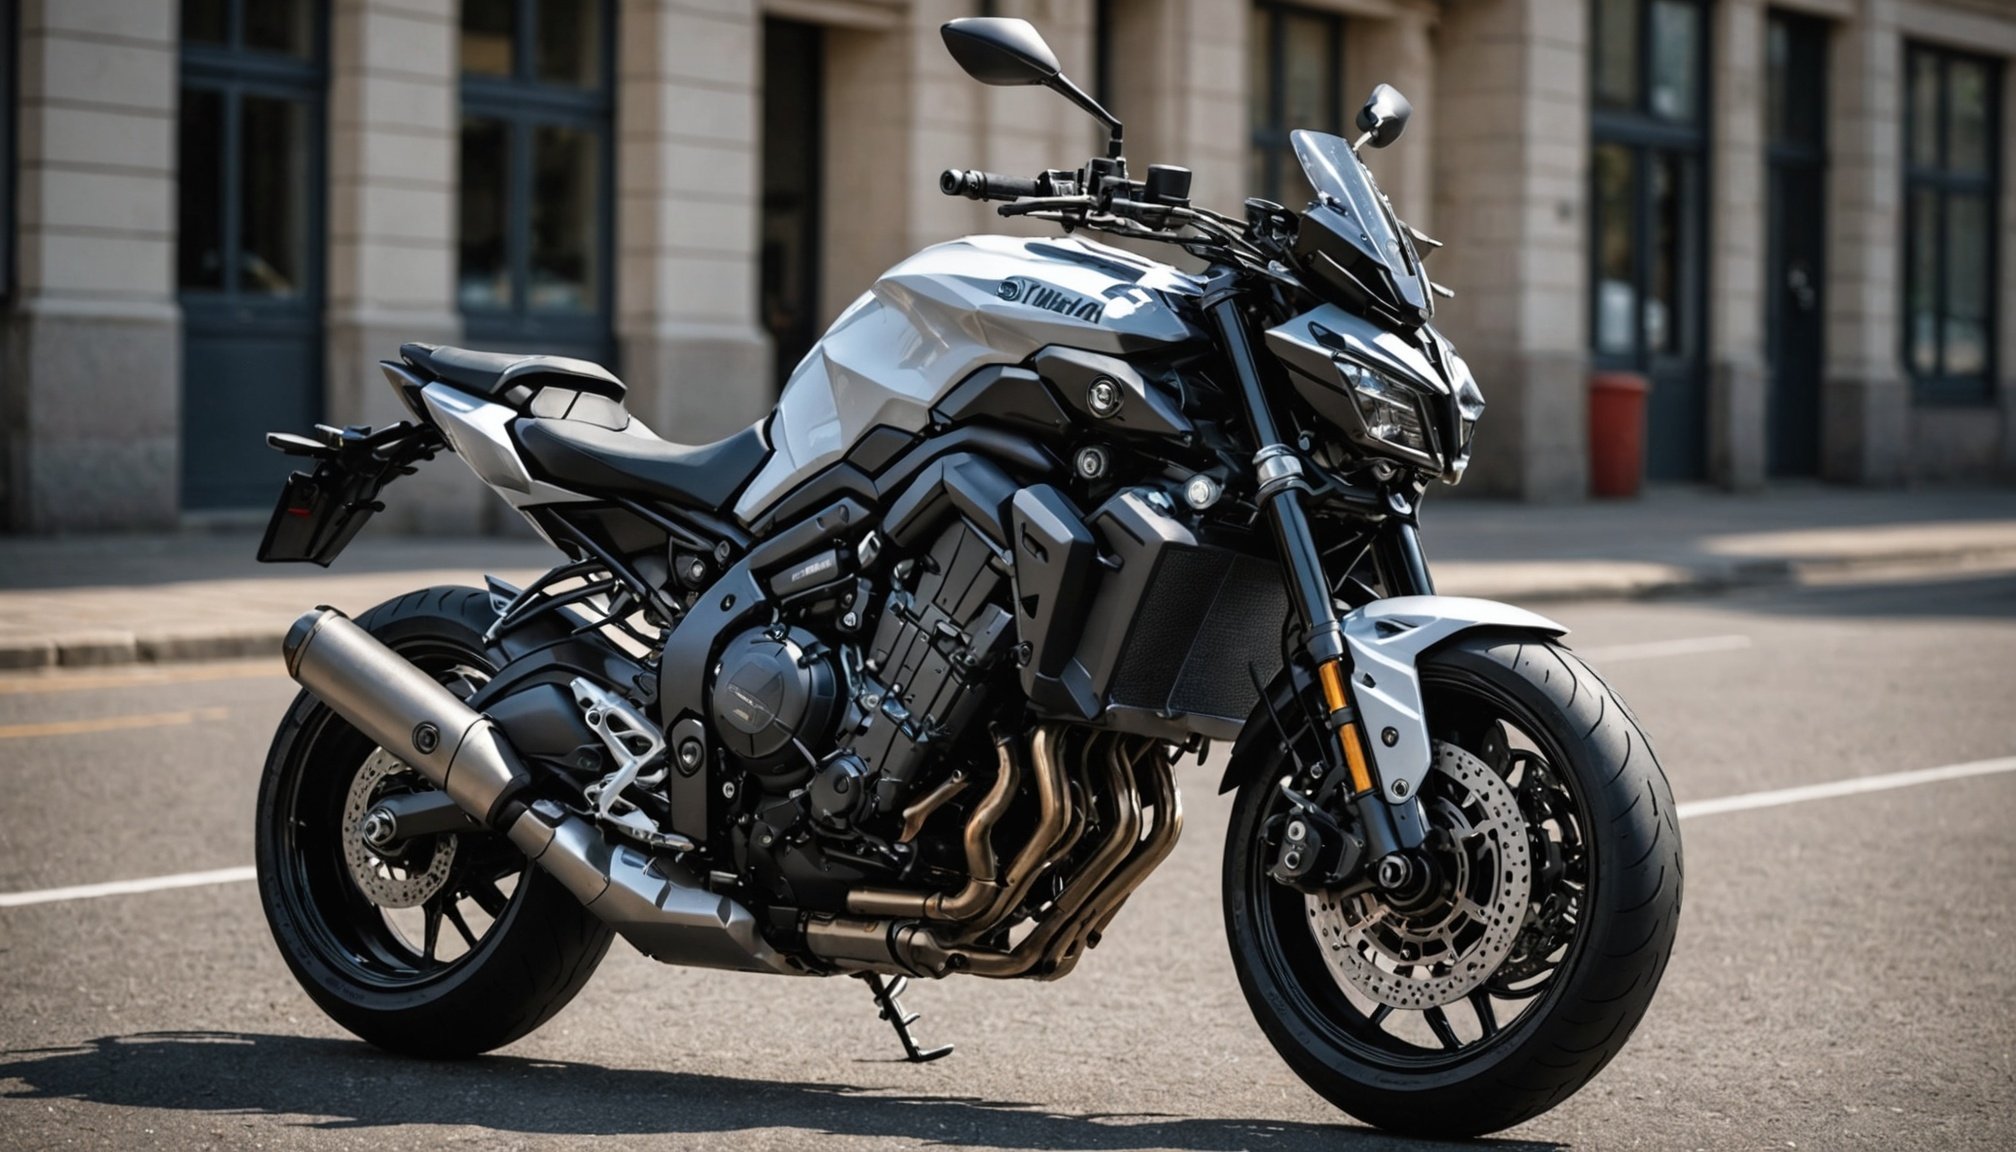
When it comes to enhancing the riding experience of your Yamaha MT-10, one of the most impactful modifications you can make is upgrading to aftermarket handlebars. This simple yet effective change can significantly improve comfort, control, and overall performance. Here’s why you should consider this upgrade:
- Comfort: Aftermarket handlebars can be tailored to fit your riding style and physical needs, reducing fatigue and discomfort during long rides. For example, handlebar risers can adjust the riding position to alleviate strain on your back and wrists[2].
- Control: Custom handlebars can provide better ergonomics, allowing for more precise control over the bike. This is particularly important for sport touring and adventure riding, where stability and maneuverability are crucial.
- Performance: The right handlebars can enhance the overall handling of your motorcycle, making it more responsive to your inputs. This is especially beneficial for riders who enjoy the sporty side of the MT-10.
Choosing the Right Aftermarket Handlebars
Selecting the perfect aftermarket handlebars for your Yamaha MT-10 involves several considerations. Here are some key factors to keep in mind:
Topic to read : Ultimate guide to detecting and fixing oil leaks on your ktm 1290 super duke gt
Handlebar Types
-
Handlebar Risers: These are ideal for adjusting the riding position to a more comfortable height. They can be especially useful for taller riders or those who prefer a more upright riding stance[2].
-
Example: The handlebar risers from Voigt-MT are designed for Ducati Scramblers but can be adapted for other bikes, including the Yamaha MT-10. They offer a significant increase in comfort and are praised for their high-quality construction and easy installation.
Additional reading : Elevate your suzuki sv1000: an easy step-by-step guide to headlight bulb replacement using minimal tools!
-
Clip-On Handlebars: These are popular among sport riders as they provide a lower, more aggressive riding position.
-
Example: Clip-on handlebars from brands like Evotech Performance are known for their precision engineering and ease of installation. They offer a sleek, sporty look and can significantly enhance the bike’s handling[3].
-
Apex Handlebars: These offer a more neutral riding position and are versatile enough to suit both sport and touring riders.
-
Example: Apex handlebars from reputable manufacturers are fully adjustable, allowing you to customize the fit to your preferences. They are often praised for their durability and comfort.
Materials and Construction
- Aluminum and Steel: These materials are common in aftermarket handlebars due to their strength, durability, and lightweight properties.
- Example: Evotech Performance handlebars are made from high-quality materials that ensure both strength and aesthetic appeal. Riders often comment on the exceptional fit and finish of these products[3].
Ergonomics and Adjustability
- Adjustable Handlebars: Look for handlebars that offer adjustability in terms of height, angle, and reach. This ensures you can customize the fit to your specific needs.
- Example: Fully adjustable handlebars allow you to fine-tune the riding position, ensuring maximum comfort and control. This is particularly beneficial for riders who enjoy long-distance touring.
Step-by-Step Installation Guide
Installing aftermarket handlebars on your Yamaha MT-10 requires some technical know-how, but with the right steps, it can be a manageable DIY project. Here’s a detailed guide to help you through the process:
Preparing Your Bike
- Disconnect the Battery: Ensure the bike is turned off and the battery is disconnected to prevent any accidental starts or electrical shocks.
- Remove Fairings and Bodywork: Depending on the type of handlebars you are installing, you may need to remove some fairings or bodywork to access the existing handlebars.
Removing the Existing Handlebars
- Disconnect Controls and Cables: Carefully disconnect the throttle, brake, and clutch controls from the existing handlebars. Also, disconnect any electrical cables and wiring.
- Remove Mounting Hardware: Unscrew the bolts and nuts holding the existing handlebars in place. Gently pull the handlebars away from the bike.
Installing the New Handlebars
- Mount the New Handlebars: Place the new handlebars in the mounting points and secure them using the provided hardware. Ensure they are tightly fastened.
- Reconnect Controls and Cables: Reconnect the throttle, brake, and clutch controls to the new handlebars. Make sure all electrical cables and wiring are securely connected.
Adjusting and Testing
- Adjust the Handlebars: Adjust the handlebars to your preferred position. Make sure they are secure and comfortable.
- Test the Bike: Take the bike for a test ride to ensure everything is working correctly and the handlebars are comfortable and functional.
Cost and Value Considerations
Upgrading to aftermarket handlebars can vary significantly in cost, depending on the type and quality of the handlebars. Here’s a breakdown of what you might expect:
| Type of Handlebars | Cost Range | Features |
|---|---|---|
| Handlebar Risers | $50 – $200 | Adjustable height, improved comfort |
| Clip-On Handlebars | $100 – $400 | Aggressive riding position, sporty look |
| Apex Handlebars | $150 – $500 | Fully adjustable, neutral riding position |
- Example: Handlebar risers from Voigt-MT can cost between $50 to $200, offering a significant increase in comfort without breaking the bank[2].
Practical Insights and Actionable Advice
Tips for a Smooth Installation
- Follow Instructions Carefully: Always follow the manufacturer’s instructions for installation. If you are unsure, consider consulting a professional mechanic.
- Use Quality Tools: Ensure you have the right tools for the job to avoid damaging the bike or the new handlebars.
- Test Thoroughly: After installation, take the bike for a thorough test ride to ensure everything is working as expected.
Enhancing Your Riding Experience
- Combine with Other Upgrades: Consider combining your new handlebars with other upgrades such as suspension tweaks or ergonomic seat changes to further enhance your riding experience.
- Example: Upgrading the suspension of your Yamaha MT-10 can significantly improve handling and comfort. Fully adjustable suspension components can be tailored to your riding style and the type of riding you do most often.
Rider Testimonials
- Comfort and Control: “The new handlebars have completely transformed my riding experience. I can ride for hours without feeling any discomfort,” says John, a Yamaha MT-10 owner.
- Performance: “The clip-on handlebars I installed have made my bike feel more responsive and agile. It’s like riding a different bike,” comments Sarah, an avid sport rider.
Upgrading to aftermarket handlebars on your Yamaha MT-10 is a straightforward way to enhance comfort, control, and overall performance. By choosing the right type of handlebars, following a detailed installation guide, and considering practical insights, you can achieve a flawless riding experience.
Whether you’re a sport rider, a tourer, or an adventure seeker, the right handlebars can make all the difference. So why wait? Invest in aftermarket handlebars today and discover a new level of comfort and control on your Yamaha MT-10.
Additional Resources
For those looking to delve deeper into the world of motorcycle modifications, here are some additional resources:
- Evotech Performance: Known for their high-quality motorcycle parts, Evotech Performance offers a range of handlebars and other accessories that can enhance your bike’s performance and aesthetics[3].
- Yamaha Parts Online: For those looking for OEM parts or genuine Yamaha accessories, Yamaha Parts Online is a comprehensive resource that can help you find the right components for your bike[4].
- Webike Japan: If you’re interested in custom parts from Japan, Webike Japan offers a vast selection of high-quality components, including handlebars and other accessories for your Yamaha MT-10[5].
By leveraging these resources and following the guidelines outlined in this handbook, you’ll be well on your way to creating a riding experience that is both comfortable and exhilarating. Happy riding
Troubleshooting Common Issues
Installation troubleshooting for the Yamaha MT-10’s aftermarket handlebars may reveal some common issues that riders encounter post-installation. These challenges can affect both performance and comfort, so addressing them promptly is crucial.
Identifying Common Issues Post-Installation
Issues often arise with alignment, with handlebars not aligning correctly with the motorcycle’s geometry. This misalignment can lead to poor control and discomfort. Additionally, riders may experience unusual vibrations or loose fittings compromising ride quality.
Solutions for Alignment and Comfort Problems
Start by examining the handlebar mount. Ensure that the handlebars are centered and aligned with the front wheel. Make necessary adjustments, tightening the bolts to specified torque settings. For comfort-related problems, consider adjusting the height and angle to better suit your riding position. This may involve minor tweaks to reduce strain on your wrists and shoulders, improving the overall riding position.
When to Consult a Professional for Installation Help
If persistent issues arise that adjustments cannot correct, such as continuous vibrations or improper fitting, it may be wise to consult a professional. This can prevent further complications and ensure that your Yamaha MT-10 operates smoothly with its new aftermarket handlebars.